Gwen
WordPress News & Magazine Theme .
WordPress News & Magazine Theme .
Thank you for purchasing our theme. We are happy that you are one of our customers and we assure you won't be disappointed. We do our best to produce top notch themes with great functionality, premium designs and human readable code. Before you get started we highly encourage you to get familiar with this documentation file. Spending half an hour reading the manual may save a lot of your time and avoid questions with obvious answers.
If you have any questions that are beyond the scope of this help file, please feel free to send your questions to our support email: bkninja.team@gmail.com. Our support team will reply you within 12 hours.
Please Note!
Our support covers getting setup, trouble using any features, and any bug fixes that may arise.
Unfortunately, we cannot provide support for customizations or 3rd party plugins. If you need help
with customizations of the theme, then you can contact us and we will offer you our customize service.
To use this theme you must have WordPress engine installed. We assume you have a working version of WordPress already up and running. If not, you can check this great tutorial guiding you through the process of WordPress installation.
How to install WordPress - A tutorial on how to install WordPress on your hosted domain.
We also encourage you to actively use the links below. These useful resources cover most of general WordPress questions you may have:
To use this theme you must be running WordPress 4.0 or higher, PHP5.4 or higher. If you use hosting with limited resources (like the lowcost shared hosting providers), you may experience issues with one-click dummy data installation feature.
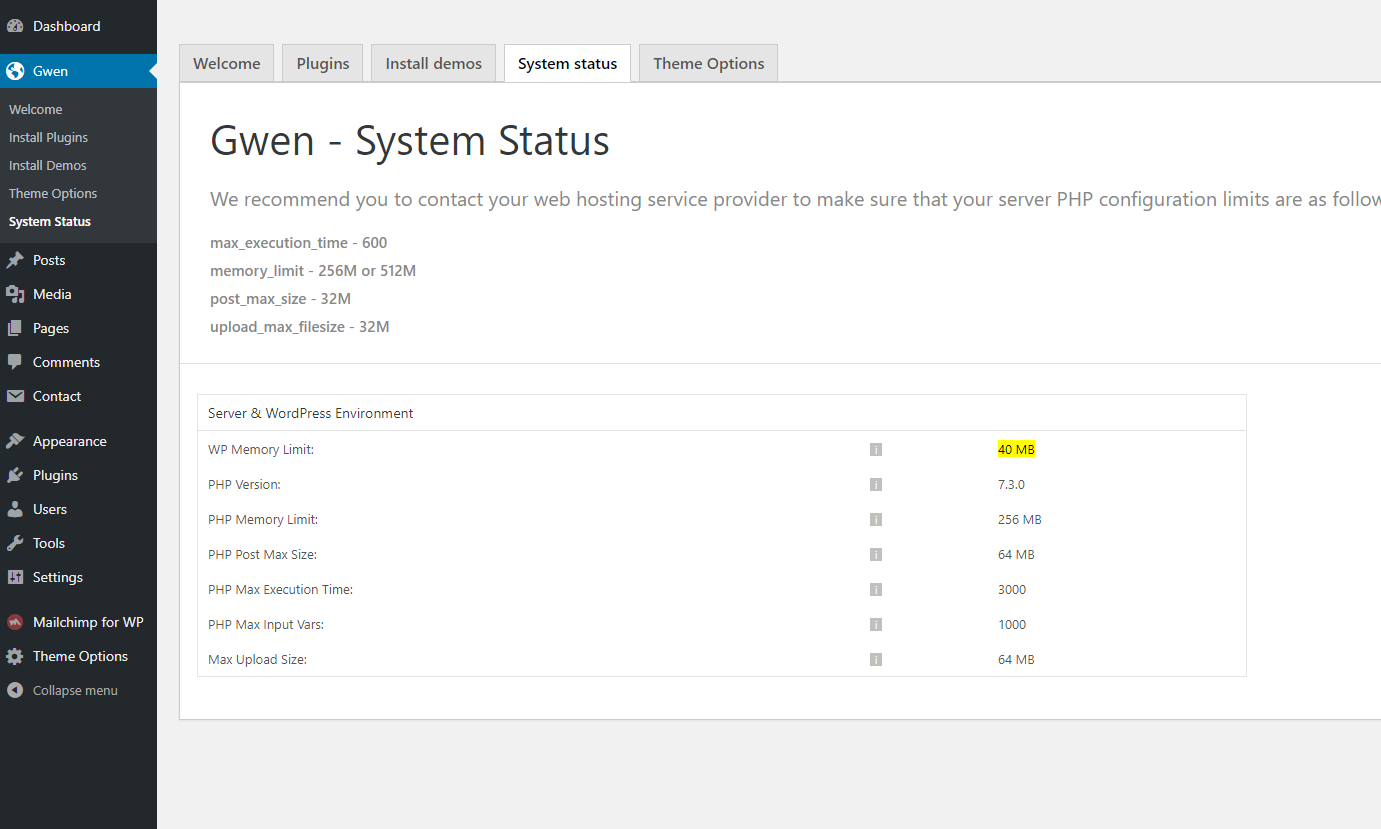
We recommend you to contact your web hosting service provider to make sure that your server PHP configuration limits are as follows:
If you are running unmanaged dedicated server or VPS, you should check your php.ini file. Alternatively, you can edit .htaccess file in the root of your website and add the following values:
    php_value max_execution_time 600
    php_value memory_limit 256M
    php_value post_max_size 32M
    php_value upload_max_filesize 32M
Setting these values will ensure you will not get error messages during the installation. To safeguard your website, please use secure passwords and the latest version of WordPress and plugins.
IMPORTANT! To avoid any errors that might come up during the installation we recommend to have memory limit set up to 512M.
Here is the list of other recommended web hosting services:
A common issue that can occur with users new to installing WordPress themes is a "Broken theme and/or stylesheets missing” error message being displayed when trying to upload or activate the theme. This error message does not mean that the theme you have purchased is broken, it simply means it has been uploaded incorrectly. Luckily, there is a very easy fix.
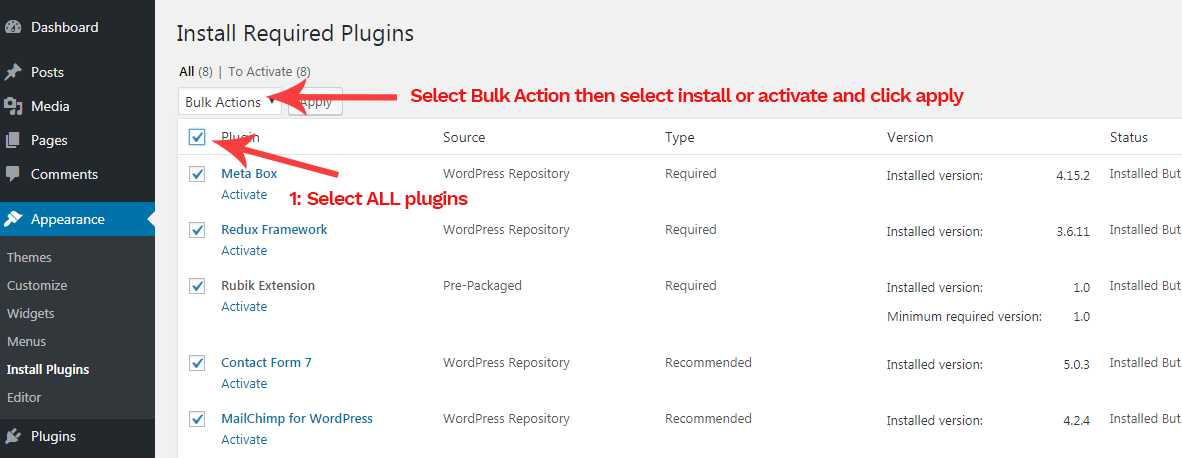
You can either install all the recommended plugins in bulk or individually select which ones you would like to install. We recommend installing all the recommended plugins.
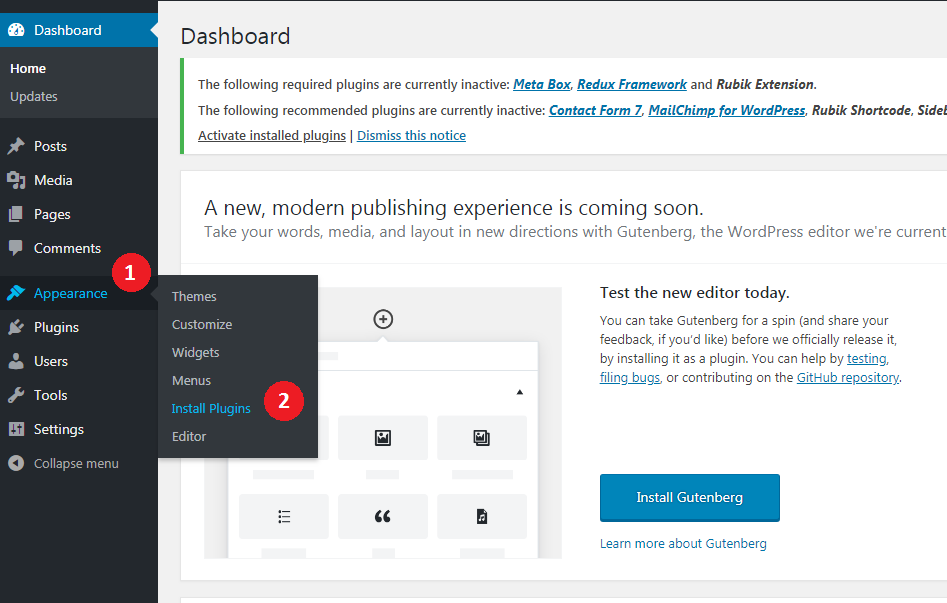
Visit Appearance ▸ Install Plugins
After you've selected the plugins you want to install, click "Install" under "Bulk Actions".
In this panel, you can easy to manage Install/Activate/Deactivate the plugins you want.

This panel shows your system configuration. Please make sure that your server PHP configuration limits are as follows
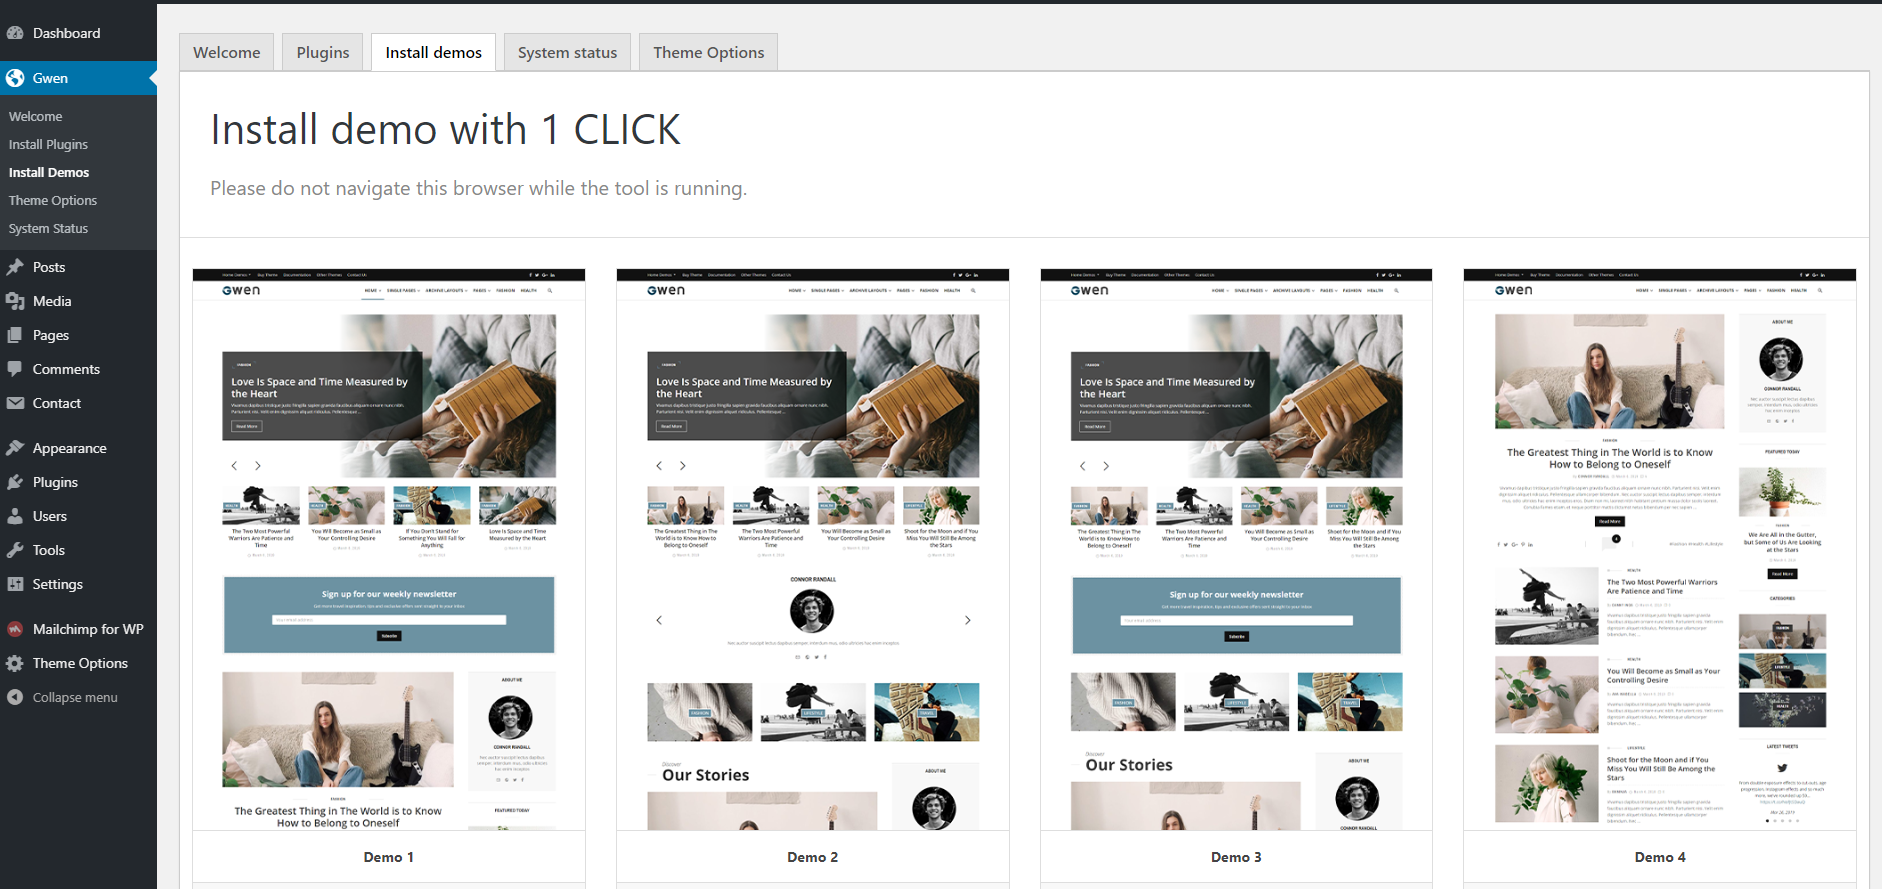
After installing all requirement plugins, you should see this panel appears. In each demo, there is an option allows you to import the attachments or not.
Once all settings are ready, please click the Import button and wait until the import process done. Then you can go back and check your website.
This Method will import posts, pages, menus only.
1. Go to Dashboard > Tools > Import and Click on WordPress and Install it.
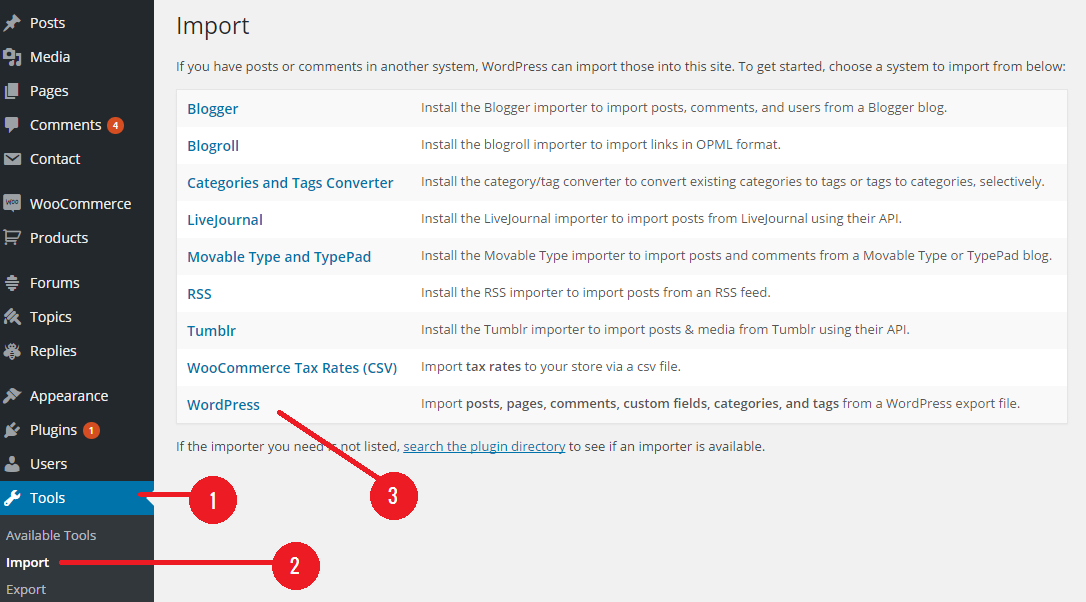
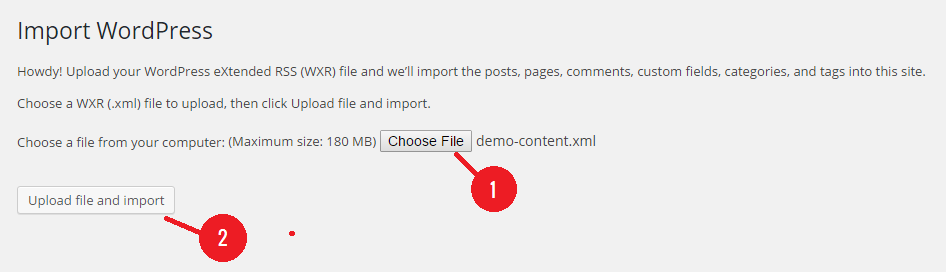
2. Choose a content_data.xml file from your download package and then click on Upload file and Import
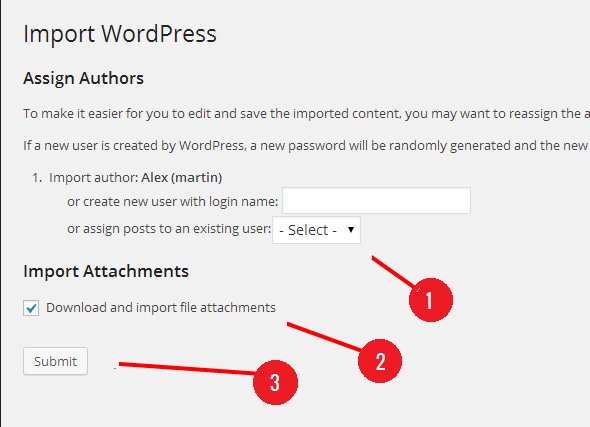
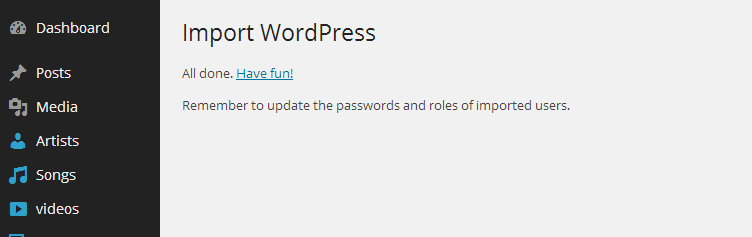
3. Assign Authors and start import, click on Submit
4. This process may take a while on some hosts, so please be patient. (some hosts between 5-6 minutes)
If you are migration from a theme which used the native featured images functionality of WordPress, please use the Regenerate Thumbnails plugin to resize all the thumbnails. Click the link above and download the free plugin, and read through the steps it contains, it has all the information you need.
The theme supports a pagebuilder that you can easy build your content by drag and drop modules into the homepage sections .
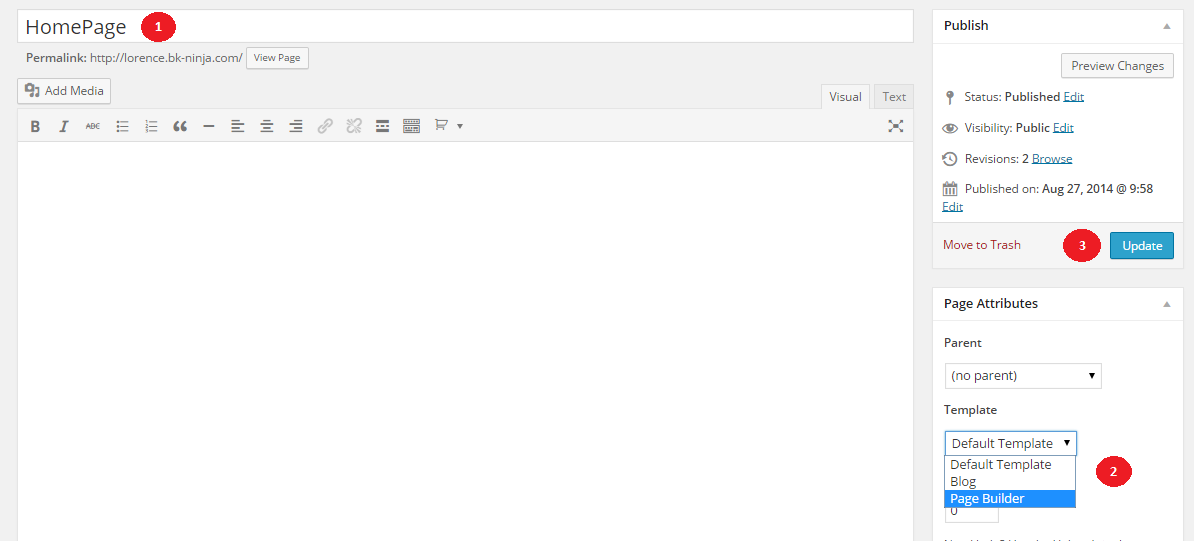
You will see the Pagebuilder interface like this.
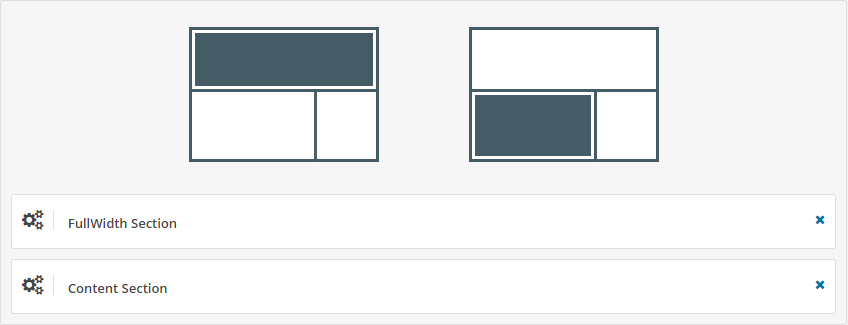
There are 2 sections:
All of your posts should have a featured image .. this image will appear in the slider , post modules , sidebar .. etc
You can insert the subtitle of the post here

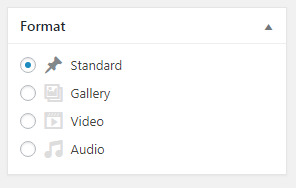
The theme support 4 WordPress post formats: Standard, Gallery, Video and Audio.
When you select the Gallery Post Format, there is a Gallery Upload field appear that allows to upload the images to the gallery

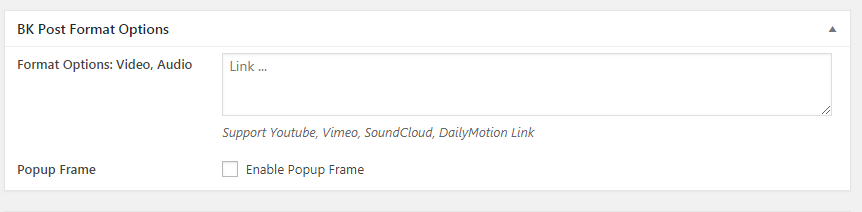
When you select the Video Post Format, there is a Text field appear that allows to insert the video link
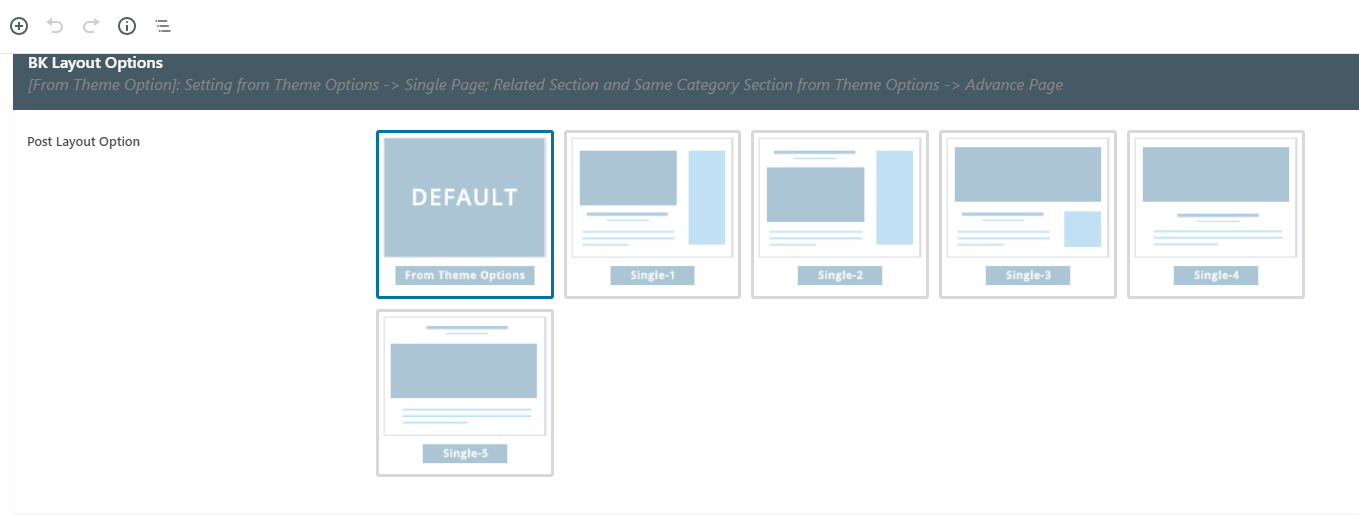
There are 5 different Post Layouts that you can select for your Post.
In this option, you can edit the theme colors to any color you want.
The typography of the theme can be setup here. You can edit the Font Family, Backup Font Family, Font Subsets, Letter Spacing.
It is recommended to use maximum 3 different font families for the sake of design consistency and load speed.
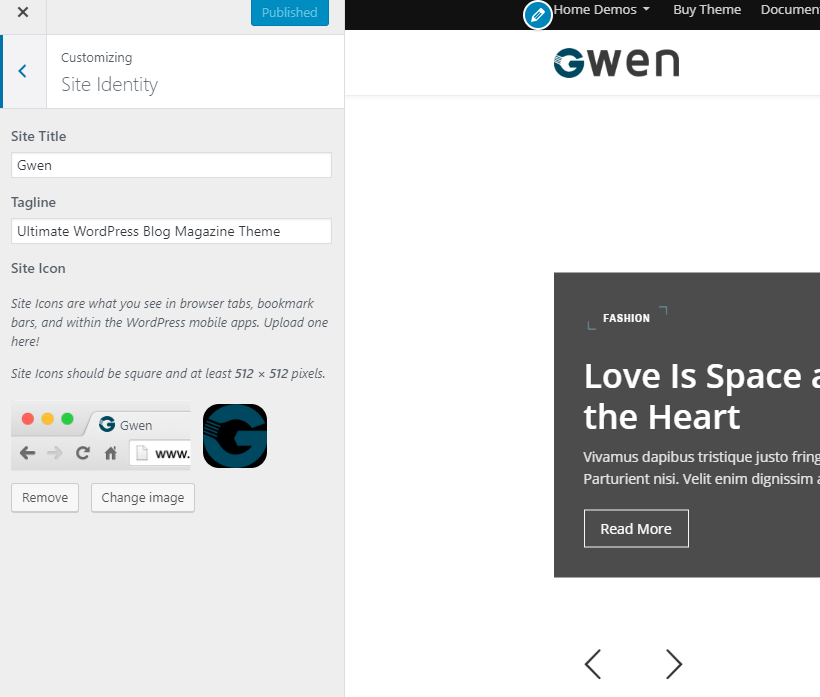
This field supports upload your logo image
This field supports upload your logo image
This field supports upload your mobile logo image
Enable/Disable the Of-Canvas Menu
Select a specific Menu that will be the Off-Canvas Menu
Upload logo of your site that is displayed in Off-Canvas Menu
Set up social items for this section. The Social Links can be setup via the Social Media Links Tab
Select a specific Menu that will be the Off-Canvas Mobile Menu
Upload logo of your site that is displayed in Off-Canvas Menu
Set up social items for this section. The Social Links can be setup via the Social Media Links Tab
Set up social items for the header. The Social Links can be setup via the Social Media Links Tab
Setup the cache time for the Post View Count, when a user view your post, the cache time will be set. If this user reload the current post, the view counter will not count up until the cache time is over
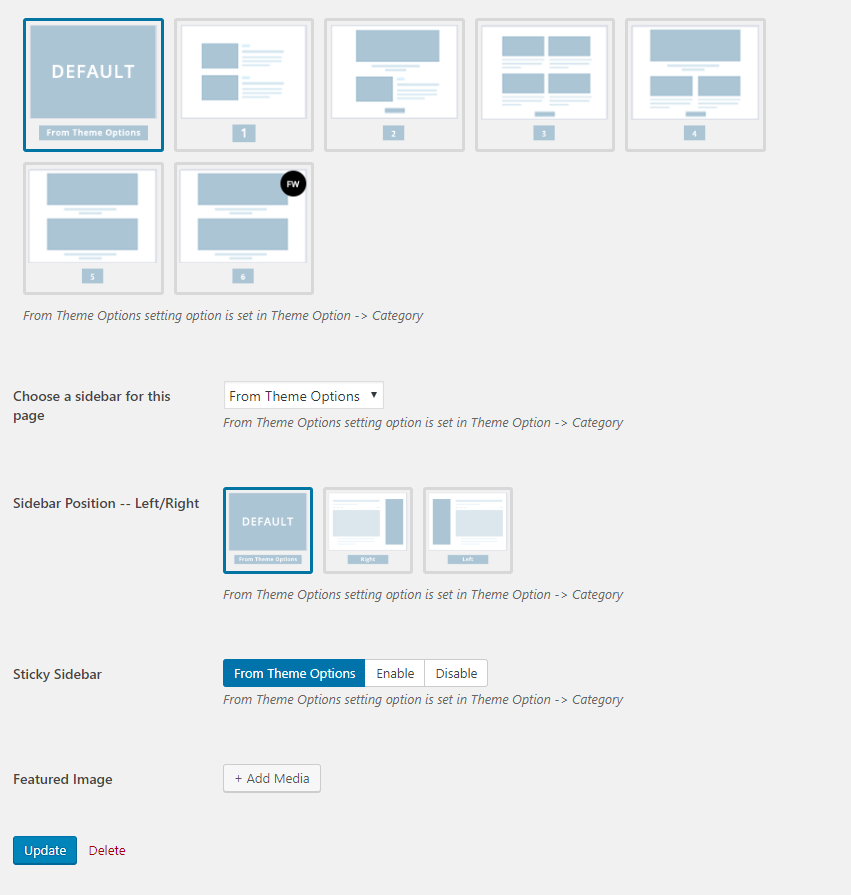
You can select a Layout among 16 Post Layouts for your posts. There're also have another setting fields like: header background, background pattern, header text, featured image or meta items that you can check under the Post Layout option
Select a Sidebar for the Posts
This option supports to setup the sidebar left or sidebar right
Enable/Disable Sticky Sidebar
Enable/Disable Post Author Section
Enable/Disable Post Nav Section
There are 6 Layouts can be selected
Show/Hide Post Icon
Setup the sidebar for the Category Page
There are 6 Layouts can be selected
Show/Hide Post Icon
Setup the sidebar for the Archive Pages
There are 6 Layouts can be selected
Show/Hide Post Icon
Setup the sidebar for the Author Pages
The is a Notice Text field of the the 404 page
Enable/Disable Search Field on 404 Page
Select between Full Width layout or Has Sidebar layout
Setup the sidebar for the page
This is the Import and Export Tool of the theme option setting panel.
Here you can copy/download your current option settings. Keep this safe as you can use it as a backup should anything go wrong, or you can use it to restore your settings on this site (or any other site).
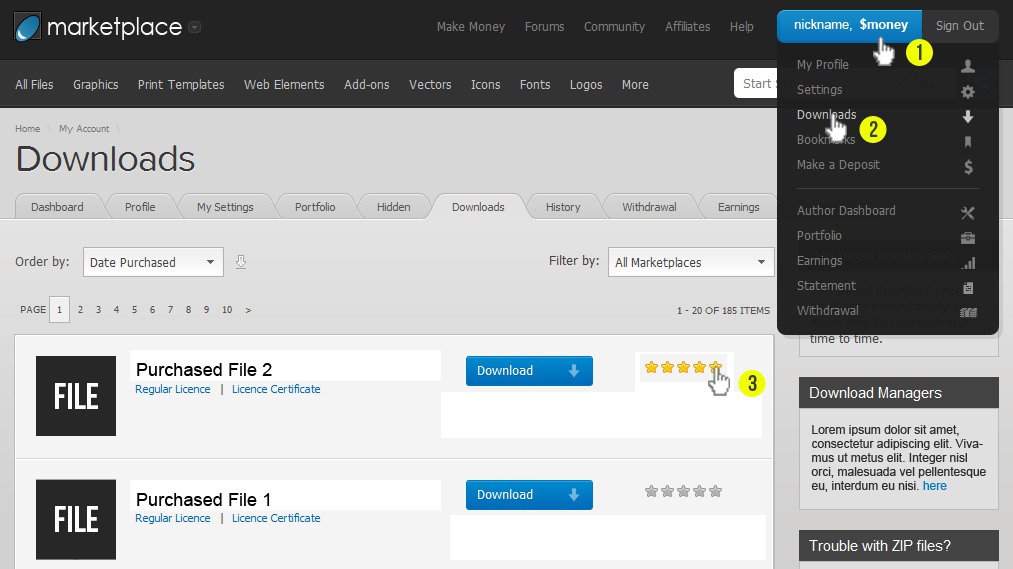
This theme may be updated periodically in order to add new features and fix bugs. When a new update be available an update message will appears on your WordPress dashboard . As a customer, you can download the most current version from your ThemeForest account.
Envato have developed the Envato Toolkit Plugin for WordPress. You can use this to receive notification of updates to themes purchased from ThemeForest and to automatically update (upon clicking) directly from within your WordPress admin area.
Gwen theme is able to be translated into any language. The process of translating the theme is a user responsibility. The following instructions are given as guidance.
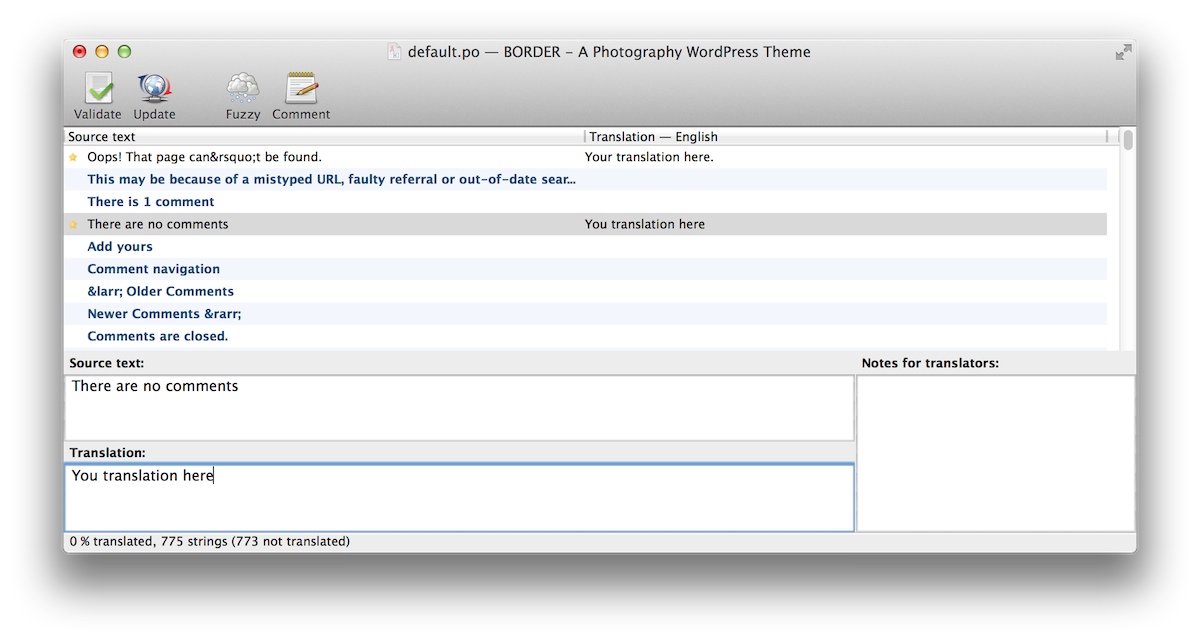
You can reopen the .pot file at any time and change, continue to translate, etc.
All done.
If you have any problem with the theme, you can post your question on ThemeForest comment section or email us at bkninja.team@gmail.com. We will try to answer as fast as possible. Our timezone is GMT +7.
If you like this theme please help us rate it 5 stars on ThemeForest by following the instruction below. We appreciate your kindness so much!